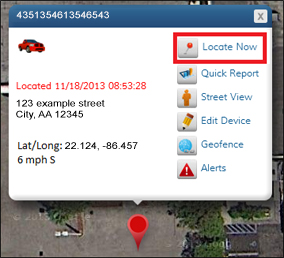
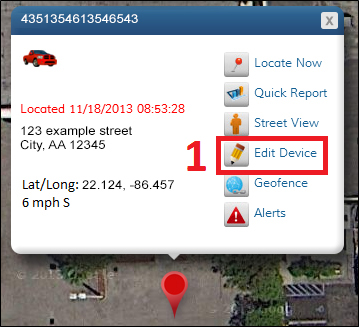
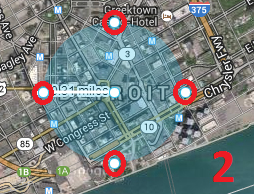
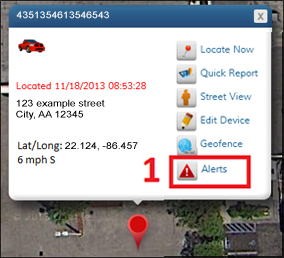
The home page displays your vehicle(s) on a satellite map. The information box, showing vehicle information will already be opened, unless you have multiple vehicles. In that case, click on the appropriate red pin to see vehicle information. By hovering over the red pin, the vehicle name will appear. The information box displays your vehicle’s name, serial number, address, latitude and longitude, time of last report, speed and direction. 
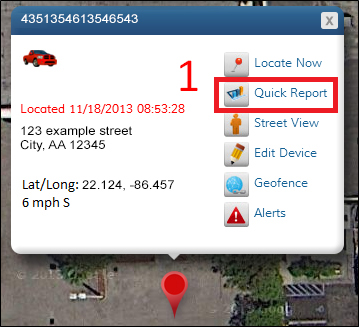
Quick Report
1. Click on the ‘Quick Report’ icon to get detailed vehicle information. The quick report window will open on the right side of your screen.
2. The quick report shows Vehicle History, Alerts History, Commands History, and the Duration Report. To switch between these reports, click the appropriate tab at the top of the window.

3. You can choose the time period for the quick report by clicking the drop-down box at the top of the quick report window. You can select today, this week, this month, this quarter or a custom date range. For a custom date range, click inside the date boxes and a calendar will pop up.

Vehicle History
Vehicle History shows the reported vehicle locations for a given time period. This report will give the report time, status, speed, heading (direction) and location of your vehicle.
Alerts History
Alerts History lists the vehicle alerts for a given time period. This report will give the event name, report time, speed and location of the alert.
Commands History
Commands History shows all commands sent to your vehicle. This report gives the status of the command (successful or unsuccessful), the type of command, the time it was sent and the location of the vehicle. You can view the alert location on the map by clicking the ‘View on Map’ button to the right of the desired location.
Duration Report
The duration report gives the amount of time your vehicle spent at reported locations. This report shows the vehicle name, serial number, duration, location, and the latitude and longitude of the reported location. You can view the alert location on the map by clicking the ‘View on Map’ button to the right of the desired location.
Exporting Reports
1. To export a report as a CSV file, click the ‘Export to CSV’ icon. CSV files can be opened with spreadsheet applications such as Microsoft Excel.

2. To export a report as a PDF file, click the ‘Export to PDF’ icon. PDF files can be opened with PDF viewers such as Adobe Acrobat Reader.

Printing a Report
You can print reports by clicking the ‘Print Quick Report’ icon.

Close the Quick Report Window
To close the quick report window, click the “x” located in the top right corner of the screen.

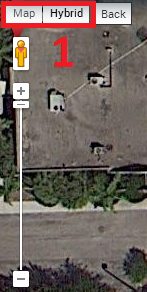
Map Tools
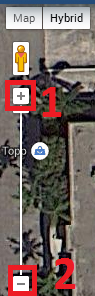 The map tools are located on the left side of the map. Zoom: Zoom allows you to change the view from which you see the map. Zooming in allows you to see objects up close such as a building or neighborhood. Zooming out lets you see a larger area such as a city, state or country.
- To zoom in, click the + button
- To zoom out, click the – button
Street View
Street View allows you to see a 360 degree, panoramic view of a location on the map. 1. Click the ‘Street View’ icon in the information box 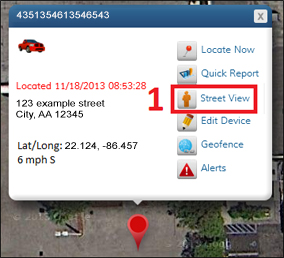 2. You will now see your location from the perspective of standing on the street. To exit street view, click the “x” located in the upper right corner of the screen.
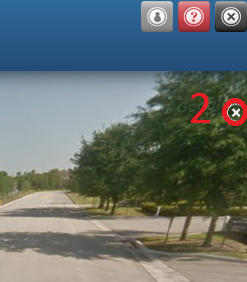
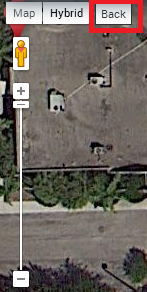
Panning
To pan across the screen, click and hold a point on the map while dragging your mouse in the desired direction.
If you would like to return to your vehicle’s location, click the ‘Back’ button, which is located in the top left corner of the map.
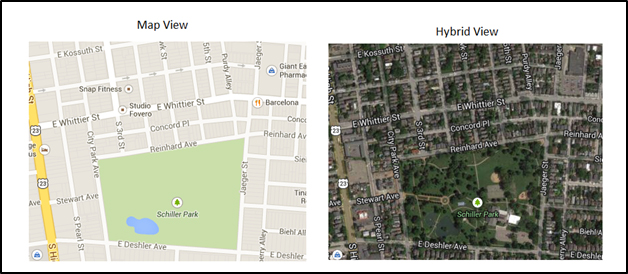
Map View/ Hybrid View
Map View: The map view displays streets, buildings and highways without the use of satellite imagery.
Hybrid View: The hybrid view utilizes satellite imagery while also providing names of streets, highways and places.
Editing Your Device
1. To edit your device, click the ‘Edit Device’ icon at the top of the information box.
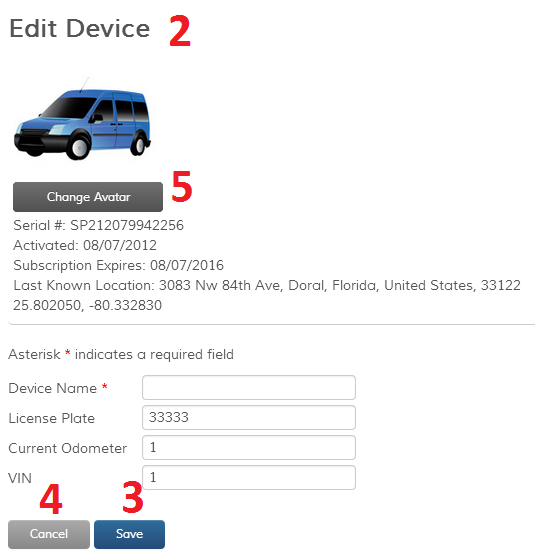
2. The ‘Edit Device’ window will display your device details such as serial number, activation date, subscription expiration date, and last known location. Below your device details are fields you can modify (Device Name, License Plate, Current Odometer, VIN).
3. When you are finished modifying the fields, click the ‘Save’ button.
4. If you would like to cancel your changes, click the ‘Cancel’ button. Note: You may need to scroll down to see these buttons.
5. To change your avatar, click the ‘Change Avatar’ button. You can now select a new avatar from the list, or upload your own. (Please note, your uploaded avatar must be smaller than 2 MB).
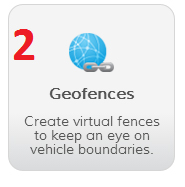
Geofences
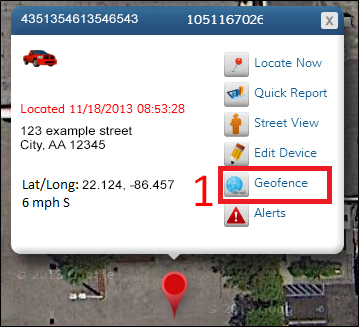
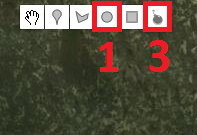
Geofences are virtual boundaries that you can designate for tracking your vehicle. Geofences can be drawn as circles, rectangles or custom shapes. Once a Geofence is set up, you can add alerts or track when your vehicle enters or leaves that area.
1. Click the ‘Geofence’ icon.
Creating Geofences
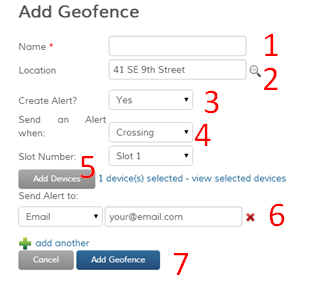
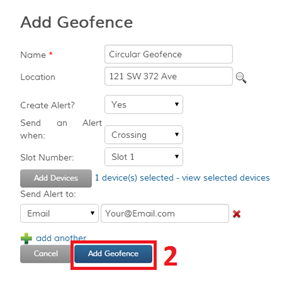
1. Name your Geofence by filling in the ‘Name’ box.
2. Locations for Geofences can be found in two ways. You can manually find the area on the map, or you can use the Find Address feature. The Find Address feature can be used by entering an address or location in the ‘Location’ box. After filling in the ‘Location’ box, click the ‘find address’ button. Now that you found your location, follow the instructions below to draw a Geofence.
3. If you would like to create an alert for this Geofence, select “Yes” from the ‘Create an Alert?’ drop-down box. If not, skip down to instructions for drawing Geofences.
4. Select when you would like to be alerted. The options are entering, exiting and crossing. By selecting “entering,” you will receive an alert when the vehicle enters the Geofence. By selecting “exiting,” you will receive an alert when the vehicle leaves the Geofence. If you select “crossing,” you will be alerted after the vehicle has both entered and exited the Geofence.
5. Click the ‘Add Devices” button and select the appropriate devices.
6. Choose how you would like to be alerted. To use email, select “Email” and enter your email address. For SMS alerts, select “SMS” and enter your phone number (no dashes) and your cell phone provider.
7. After drawing your Geofence using the steps below, click the ‘Add Geofence’ button to save your Geofence and alert.
Drawing a Circular Geofence from a location found via Find Address feature
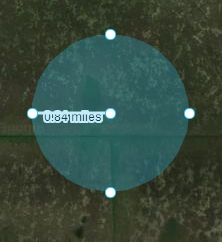
1. If you found your location through the Find Address feature, clicking the circular Geofence button will automatically create a circular Geofence around the location.
2. You can then adjust the size by clicking and dragging any of the four points which lie at the outer edge of the Geofence.
3. If you would like to erase this Geofence and create a new one, simply click the ‘Eraser’ button at the top of the map, and then follow the instructions below.
Drawing a Circular Geofence from a location found manually
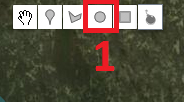
1. Click the circular Geofence button at the top of the map. Your cursor will now change to a + symbol. Click where you would like the center of your Geofence to be and drag the cursor until your Geofence is the desired size. Once your Geofence is the correct size, click again. To move the Geofence, click in the middle of the circle and drag it to the desired location.
2. Click the ‘Add Geofence’ button and your Geofence will be saved.

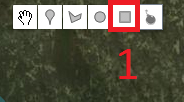
Drawing a Rectangular Geofence
1. Click the rectangular Geofence button at the top of the map. Your cursor will now change to a + symbol. Click on the map and drag the Geofence to the desired size. Once your Geofence is the correct size, click again. To move the Geofence, click in the middle of the rectangle and drag it to the proper location.
2. Click the ‘Add Geofence’ button and your Geofence will be saved.
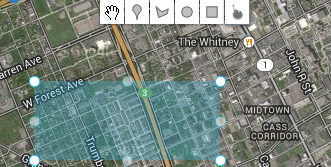
Drawing a Polygonal Geofence
The polygonal Geofence tool allows you to create a custom Geofence by connecting three or more dots.
1. Click the ‘polygonal Geofence’ icon at the top of the map. Your cursor will now change to a + symbol. Click where you would like the first point on the Geofence perimeter to be. As you move your cursor, you will notice a line connected to the first point. This line shows where the Geofence perimeter will be. Click where you would like the second point to be. Then click where you would like the third point. Now, you can either complete the Geofence or continue adding points.
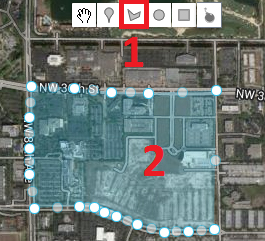
2. To close the Geofence, click on the first point one more time. You will then see your Geofence highlighted in blue. You can modify the shape of the Geofence by clicking on any of the points lying on the outer edge and dragging them to the desired shape. You can also move the Geofence by clicking in the center of the Geofence, and dragging it.
Delete a Geofence
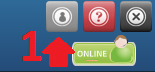
1. Click the ‘Admin’ icon.
2. Click the ‘Geofences’ icon.
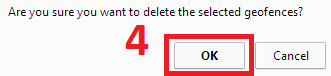
3. Under the Actions column, click the ‘Delete’ icon

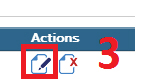
4. A confirmation message will open asking “Are you sure you want to delete the selected Geofences?” Select “OK” to finish deleting the Geofence.
Edit a Geofence
1. Click the ‘Admin’ icon.
2. Click the ‘Geofences’ icon.
3. Under the Actions column, click the ‘Edit’ icon.
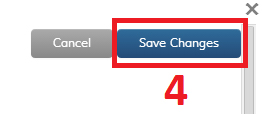
4. After you have made your changes, click the ‘Save Changes’ button.
Create an Alert
1. Click the ‘Alerts’ icon in the information box.
2. The Alerts window will open, which will allow you to create alerts.
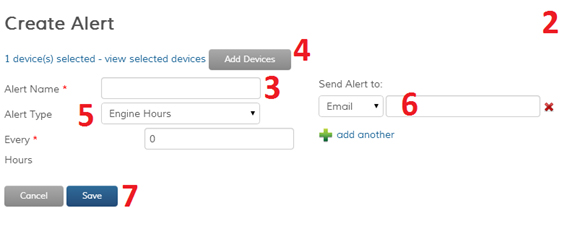
3. Name the alert
4. Select which devices to apply the alert to by clicking the ‘Add Devices’ button. There, you can select which devices by ticking the check box next to the appropriate device. Click the ‘Save’ button at the bottom of the window to finish adding devices.
5. Select which type of alert to set up from the ‘Alert Type’ drop-down box. Fill in the fields; each alert requires different fields.
6. Alerts can be sent via email or SMS to your cell phone. To send the alert via email, fill in the ‘Email’ field and tick the accompanying ‘Use’ checkbox. Then, click the ‘Add Contact’ button. To send the alert via SMS, enter your phone number in the ‘Phone’ field. Then, select your carrier from the drop-down box and tick the ‘Use’ checkbox. Then, click the ‘Add Contact’ button.
7. Click the ‘Save’ button and your alert is now active.
Delete an Alert
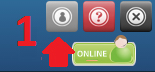
1. Click on the ‘Admin’ icon in the top right corner

2. Select the ‘Alerts’ icon.
3. Find the alert(s) you want to delete and tick the checkbox to the left of the alert name.
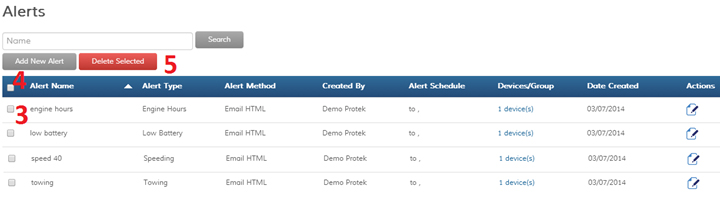
4. If you want to delete all alerts, tick the checkbox at the very top of the list of alerts. This will select all of your alerts.
5. Then, click the ‘Delete Selected’ button.
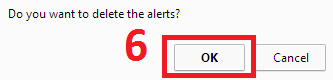
6. A confirmation message will appear. Select “OK” and your alert(s) will be deleted.
Create a User
1. Click the ‘Admin’ icon in the top right corner.
2. Click the ‘Users’ icon.
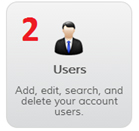
3. A window will open which displays all current users and their information. You can create, edit and delete users on this page.
4. Click the ‘Add New User’ button.
5. Fill in the fields. Click the ‘Save’ button.

Change Password/ Edit User
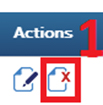
- On the Users Admin page, click the ‘Edit User’ icon in the Actions column. Change your desired fields.
- Click the ‘Save’ button at the bottom of the window.

Delete a User
- Click the ‘Delete User’ icon in the ‘Actions’ column. A confirmation message will appear.
- A confirmation message will appear. Select ‘Delete’ to permanently remove the user.
Renewals
1. Click the ‘Admin’ icon.
2. Click the ‘Renewals’ icon.
3. Tick the checkbox next to the device you would like to renew. Click the ‘Renew & Pay’ button. Enter your billing information and follow the on-screen prompts.
Locate Now
To locate your vehicle at any time, click the ‘Locate Now’ icon at the top of the information box. After a few moments, the map will display the vehicle location and the time of last report will be updated. Please note that it can take up to 3 minutes to locate your vehicle.