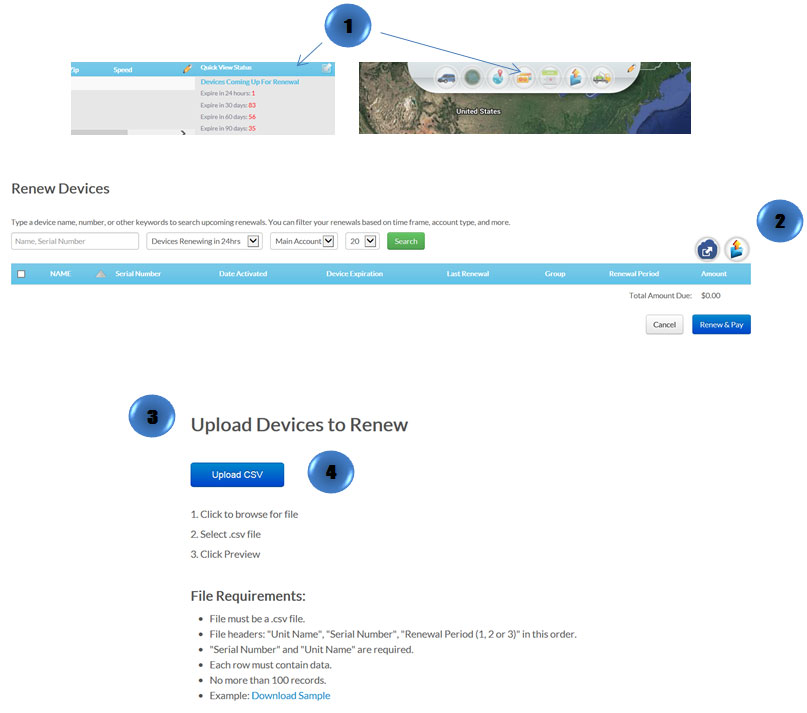
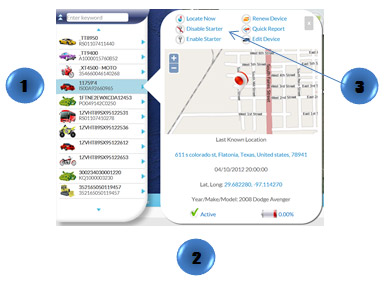
- In the Map View, go to Quick View Status at the bottom right of the screen, Click on the red listed number that shows the device(s) coming up for renewal.
Or
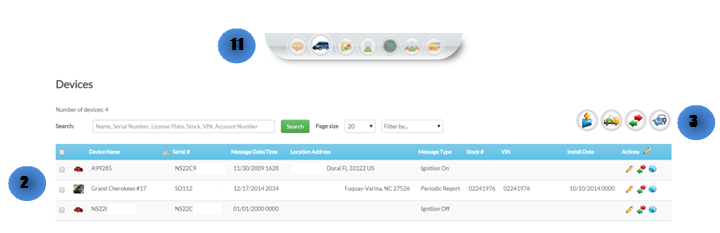
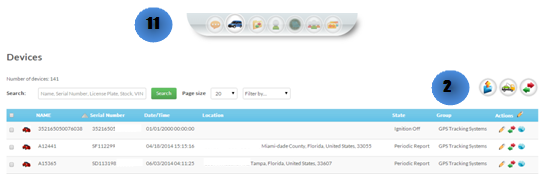
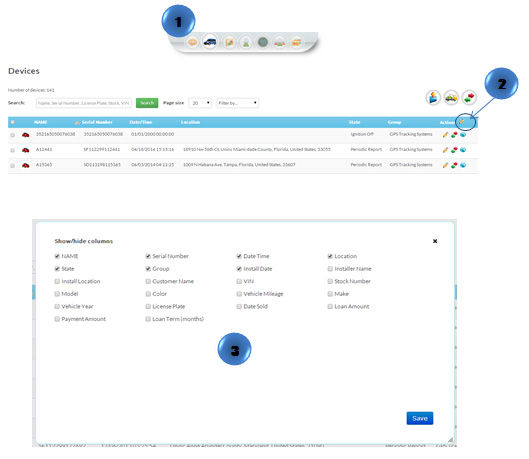
- Click on “Renewals” icon on the toolbar.
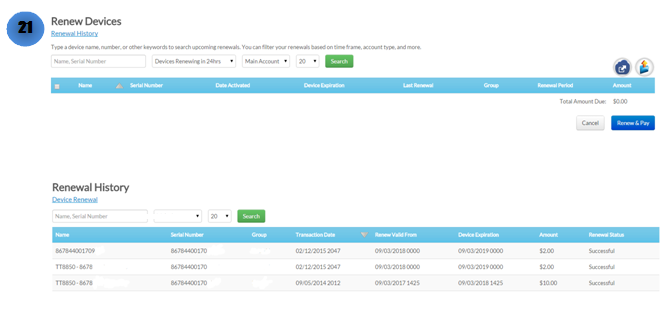
- The renewal page will show up. Click on the “Upload File” icon located to the right of the window
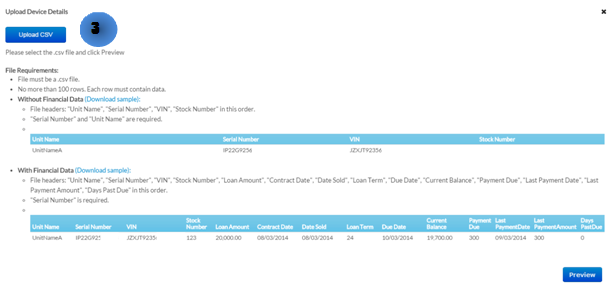
- A new window will appear
- Click on “Upload CSV” select the file and click on “Open”
The .csv file should contain the following columns: Unit Name, Serial Number, and Renewal Period. Up to 100 records per file.
Note: By clicking on the “Export to CSV” icon located to the right of the window a template can be downloaded.